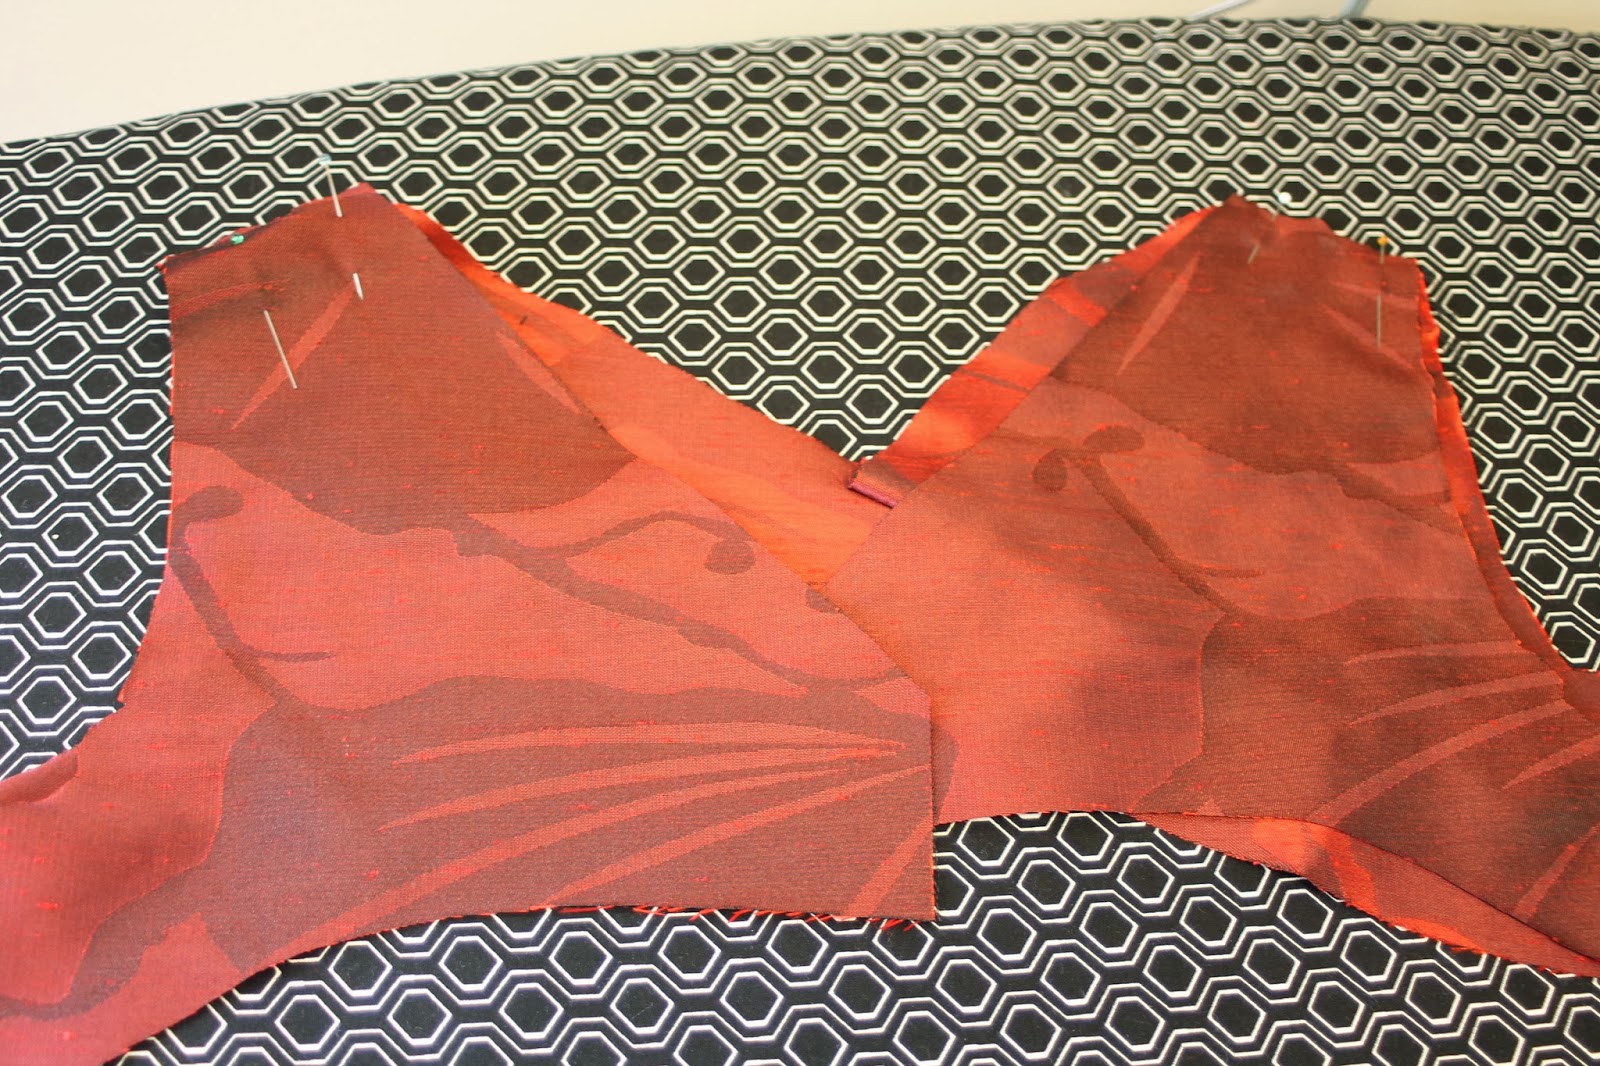
Hey all! So I'm back with this dress that I made for Project Sewn's sewalong to share with you the changes that I made to the construction process. I almost always make this change to the process when I am making a sleeveless dress or top. All because I don't like to attach the shoulders last. I can never make them look neat and nice. Attaching the facings and pulling them through gives me a nicer, neater look and offers me the ability to make fitting adjustments to the side and back seams last.
This dress had a separate front shoulder that I sewed in first.
The pattern called for gathered shoulders and I opted instead for pleats. I almost always will choose pleats over gathers. I'm not really sure why.... I just like them I guess. I just made sure that I pleated them to the same width as the as the back shoulder pieces.
Now, because I didn't attach the facing to right shoulder piece before sewing it to the bodice, it won't fit of course. Using the pattern piece to trace out the bottom portion of the facing and the top of the pleated portion, I drafted out a new facing.
This new left front facing was sewn to the right front facing in the same manner as the bodice pieces were.
Now, sew the facings together, front to back, at the shoulder seams. (yes...the interfacing is missing....I didn't have any left and leaving the house to get some was not at all appealing that day. The fabric being a taffeta, had lots of body to it so it didn't seem to make a difference...but still..bad seamstress! very bad!)
Also, do the same for the dress pieces. The basic steps always run this way, sew front to back at shoulder seams on both the main dress and the facings. Do not touch the side or back seams at all! Yet.
With right sides together, pin the facing to the dress, matching carefully at the shoulder seams. Sew around front and back neckline in one seam. Then each armhole and clip all curves. I like to clip a lot to ensure a nice flat finish when I turn it right side out.
This next step is always my favorite. Pull each back section up though the front. Because the back pieces are not attached to each other, you can easily do this. Pull each side though and press.
At this point, here is what you are left with.... this.
Order of operation from this point for me usually goes as follows...side seams, invisible zipper, back seam below zipper, serge seam allowances and hem, then of course hand stitch the hem.
I always like to serge my seam allowances separately so that if I have to take in or more importantly, let out side seams for a little more room ....(what!? it happens!!) , I don't have to deal with the serged edge.
Whew! That maybe sounds like a lot of work but it's really not. If I can do it....


This is such a neater and easier method of construction that I don't understand why the pattern companies insist on that method of sewing the shoulder seam last. I absolutely love this dress, the rich fabric is perfect for the sophisticated lines of the dress.
ReplyDeleteOh what a terrific idea, thanks for sharing. This is such a pretty dress and it looks terrific.
ReplyDelete