Showing posts with label pencil skirt. Show all posts

Sunday, July 6, 2014

Sewing Rules!


Holy moly people! I have been crazy busy! And boy... do I miss sewing and blogging. My unblogged projects are at an all time high right now. This skirt was made months ago and I have worn it but not until today had I gotten the chance to photograph it. It's Newlook 6107. I have used this pattern quite a bit lately and have not been disappointed.

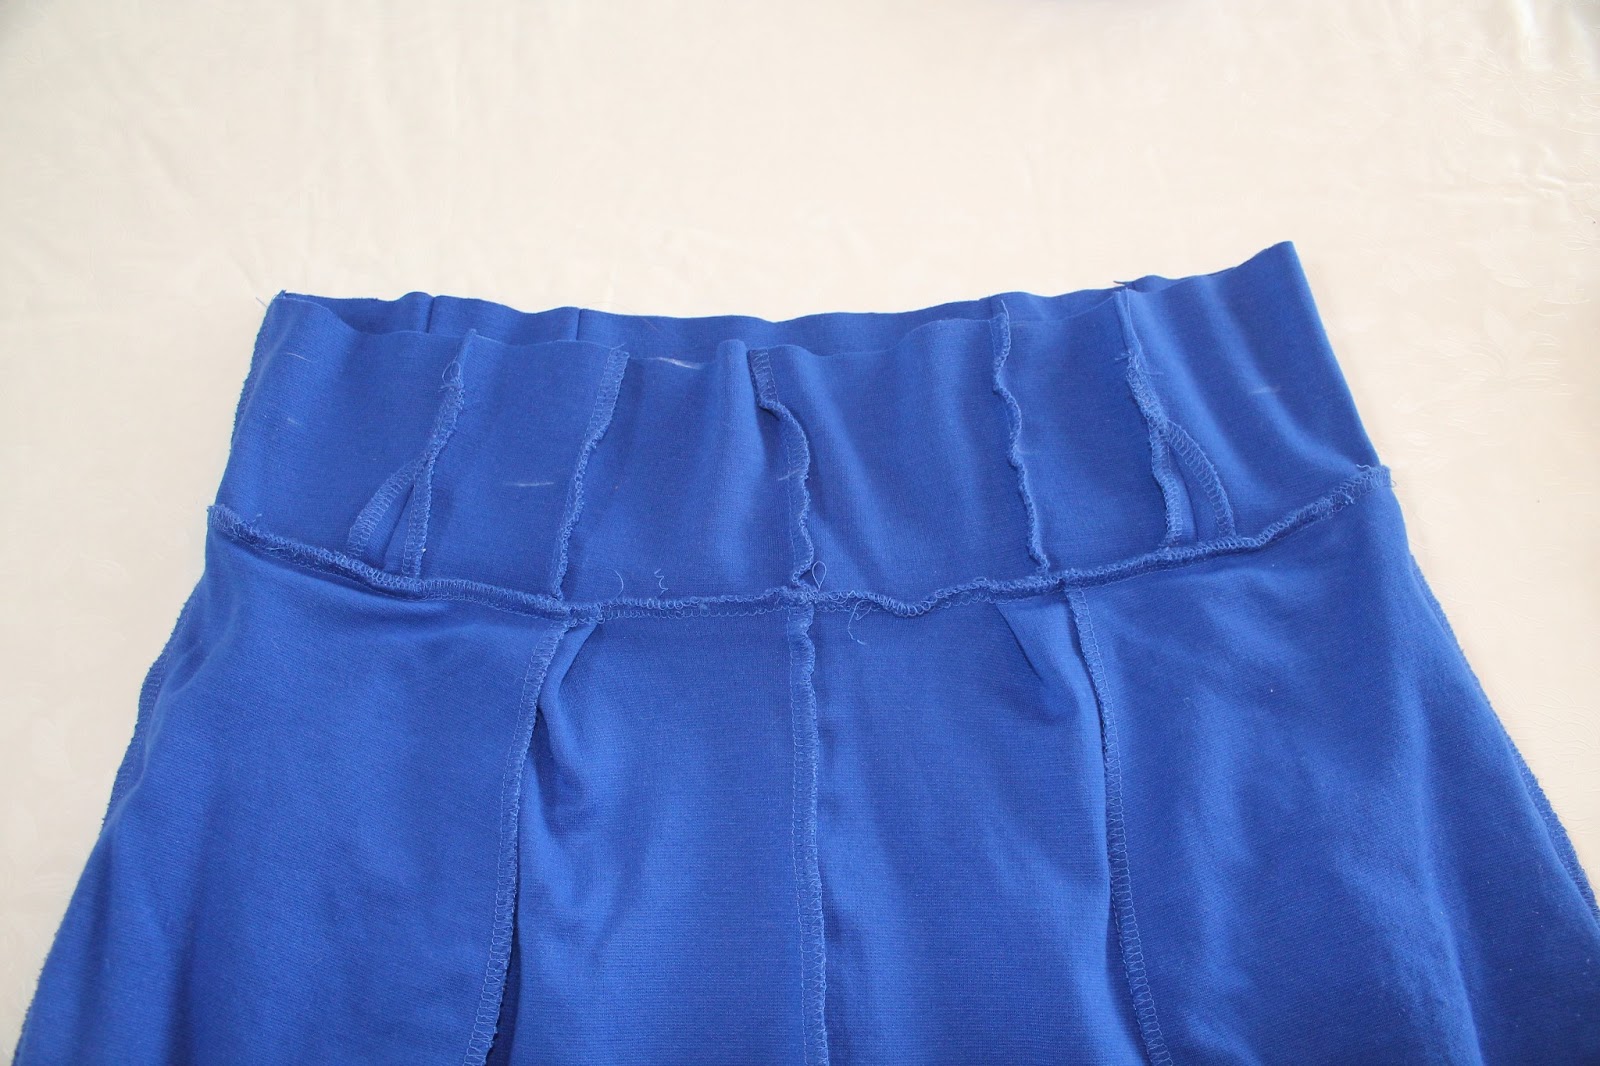
I won't go into detail about the construction of this pattern because I have made it before here. However...check out this cool fabric...it's chevron and striped all wrapped up into one! AND actually....it is also a diagonal...that is... if I had cut it on the grain. I realize that cutting this style of skirt out on the bias is a no-no but I did it anyway. Yes I did. It did have it's consequences, mind you... like a lumpy spot at the bottom of the zipper that likes to poke out like a tail. Very flattering... yeah no. However....after I wore it for a bit the seat stretched out and it's barely noticeable! (At least that's what I tell myself)
 Can you spot the problem? Go ahead...zoom in on my butt. I give you permission..this time.


Skirt:self made Sweater: Gap Shoes:Old Navy (thirfted) Clutch:Franco Sarto Winners


So, have any of you deliberately broken the sewing "rules" ? How did it work out for you? Sometimes I think that new techniques can be discovered through experimentation...and sometimes breaking the rules just results in a lumpy tail on my butt.


Monday, February 10, 2014

Bubbling Over


Well, I finally feel like sewing again! But before I get to my sewing project I'd like to talk a little thrift with you. This coat. Serious love affair with this one people. I bought it a couple of years ago and it is a classic piece in my coat collection. I can't tell you how many times I have been complimented on this one. I just love the silhouette and color. And of course its warmth!! The snow is beautiful but chilly!

Coat:Kenar(thrifted) Turtleneck:Denver Hayes Skirt:self-made Booties:Madden Girl
Necklace:Suzy Shier Sunglasses:Joe Fresh

Ok, so enough gushing over my thrift find and on to the skirt. I used Newlook 6107 view D.

My Review: 

Pattern:  Newlook 6107

Fabric used: A lovely polka dot wool! The polka dots are flocked.

Instructions: The instructions were clear and straight forward.

Changes I made: The only change I made was adding a lining to this skirt. I like a lined skirt in the winter...it makes wearing tights easier. Oh and I used an invisible zipper...as per usual for me. They are my favorite. 

Repeat worthy? Yup! This skirt is basic and has a great fit for me. I can see myself making this one repeatedly!


It feels good to be sewing again... a dress and a skirt all within a week! I'm bubbling over with excitement and a wonderful sense of accomplishment! The only down side to such productivity is a VERY messy sewing room and a laundry hamper bubbling over as well! 

Thursday, May 9, 2013

MMM Day 9 Comfy Knits


I made this skirt in less than half an hour this morning. I wanted something very comfy to wear today and found this stretch knit in my stash. It has little sailboats on it... love. Then I remembered seeing a tutorial over at Mimi G's blog and thought I would give it a whirl. Check it out here. She is very cool. I'm pleased with how mine turned out and can already think of so many ways to wear it.


Today I went for a classic navy and green combo. I'm feeling pretty nautical and preppy right now. I really love fresh bright colors. I paired it with my self made t-shirt. I put these shoes on for the picture but basically went around the house barefoot all day. Comfy.


Monday, April 29, 2013

Long Waisted


I have a long torso... I know this because time after time I have the problem shown above. If I pull this dress up to where it should be...umm...covering my bust (please and thank you), then the dress becomes too short and the waistline doesn't sit on my waist, which then leads to poor fitting in the backside (and the front side).
In the picture on the right, I pulled the dress down so that the waistline sat on my natural waistline, which gave me a nicer fit but only covered half of my bust! I was left with no other choice...this dress was getting the chop!


Making that first cut is always so hard for me. I doubled the width if the elastic I was using(1.5 inches wide x 2=3) , added quarter inch for seam allowance, measured up from the waistband, marked it and cut! Whew...now I'm committed.


Here's what it looked like after the chop. The bodice of the dress will become the waistband of the skirt. I then folded the new waistband down to meet the seam allowance of the existing waist seam.


 Using my serger, I stitched the newly cut edge to the seam allowance, being careful to stay within the seam allowance only. I disengaged the knife on my serger to prevent any mishaps.


Here you can see that the bodice part of the dress is now a casing for the elastic. I used 1.5 inch non-roll elastic. This was the first time I have used the non-roll type and I really liked it...and get this...it doesn't roll. For real.


Pulling the elastic through was a bit time consuming but was worth the effort. I am so pleased with the end result. This project cost me $4.50 for the dress at the thrift store and $2 for the elastic. I checked my local fabric store for some ponti cobalt blue fabric like this dress is made of....I would have had to pay $16 a meter for it. I think I got a great deal and saved myself a lot of work too. 


This skirt will be a great addition to my closet, and fun to style many different ways!

Wednesday, April 10, 2013

Knock Out Knock Off...The Reveal

Skirt:self-made Lace top: F21 thrifted Shoes: Franco Sarto Bracelet: Club Monaco thrifted 


Well, here it is, my finished skirt. I really love it but was undecided how to style it for my first wear. I went for something not quite as spring-like as I would like but the weather isn't feeling much like spring so I thought I would go with black. Easy. 
For details on the construction you can check out this post :)

Monday, April 8, 2013

A Knock Out Knock Off

Oscar de la Renta  Tie-belt Pencil Skirt  (source)

See this knock out of a skirt.... it's only gonna cost ya $1200 bucks. Peanuts really. Ha! I have been pinning pink skirts on Pinterest to my DIY board, wanting to make one for spring and summer and when I saw this one...I knew I could make my own knock off version of it! Keep in mind that the Oscar original is surely made of fine Italian wool and mine is a stretch sateen and will probably wrinkle like a bugger...but my price tag of 12 big ones wins with this thrifty gal.


I just recently made this black and white print dress using Butterick 5455. I really liked the shape of the skirt and loved the pockets, so when I saw this skirt I knew instantly that this pattern would work with a few adjustments of course. The pockets of my skirt are not quite the same as the original but I like them just as well. The hem of the skirt has a trapunto (which is just a fancy word for quilted) band. To get this look, I first folded up the hem of my pattern by 4 1/4 inches on front and back pieces.


To make the trapunto band, I cut a 7 inch strip of fabric, long enough to fit around the entire circumference of the hem.  I then folded it in half, wrong sides together and pressed it.


To achieve a nice quilted effect, I cut a strip of low loft quilt batting 3 1/2 inches wide and just as long as the strip. Lay the batting inside the folded band, tucking it tightly into the folded edge.


Starting with the folded edge on the right, I topstitched the band at 1/2 inch intervals. To keep my lines of stitching straight and even, I used my quilting guide. Be sure to measure from your needle to the guide, not from the edge of the presser foot.


After I followed the directions of the pattern to sew the body of the skirt together, I stitched the band to the bottom of the skirt before sewing the back seam. 


As you can see here, the quilted band I made was longer than I needed, so I trimmed it to match the back seam lines and then stitched the back seam.


Here is the back seam from the inside. I often like to serge my seam allowances in a different but complimentary color. It saves me from buying so many different colors of serger thread that in the end I may not use.


Here is the back seam from the right side. I was pleased with how the seams and quilt stitching lined up. Now, I don't have pictures of the next steps but I followed the same steps for the waistband and added an invisible zipper. I also made a quilted sash belt that gives the skirt the finishing touch. I'm so pleased with this knock off project. This post was so long, I  will share the finished skirt in the next post...stay tuned.